1
/
of
1
Broken Shaft - Repair Parts Only
Broken Shaft - Repair Parts Only
Regular price
500,00 DKK
Regular price
Sale price
500,00 DKK
Unit price
/
per
Taxes included.
Shipping calculated at checkout.
Couldn't load pickup availability
Broken Shaft - Repair Parts Only
This kit includes only the parts needed to complete the repair.
A drill guide and a 29mm hole saw are required for installation but are not included.
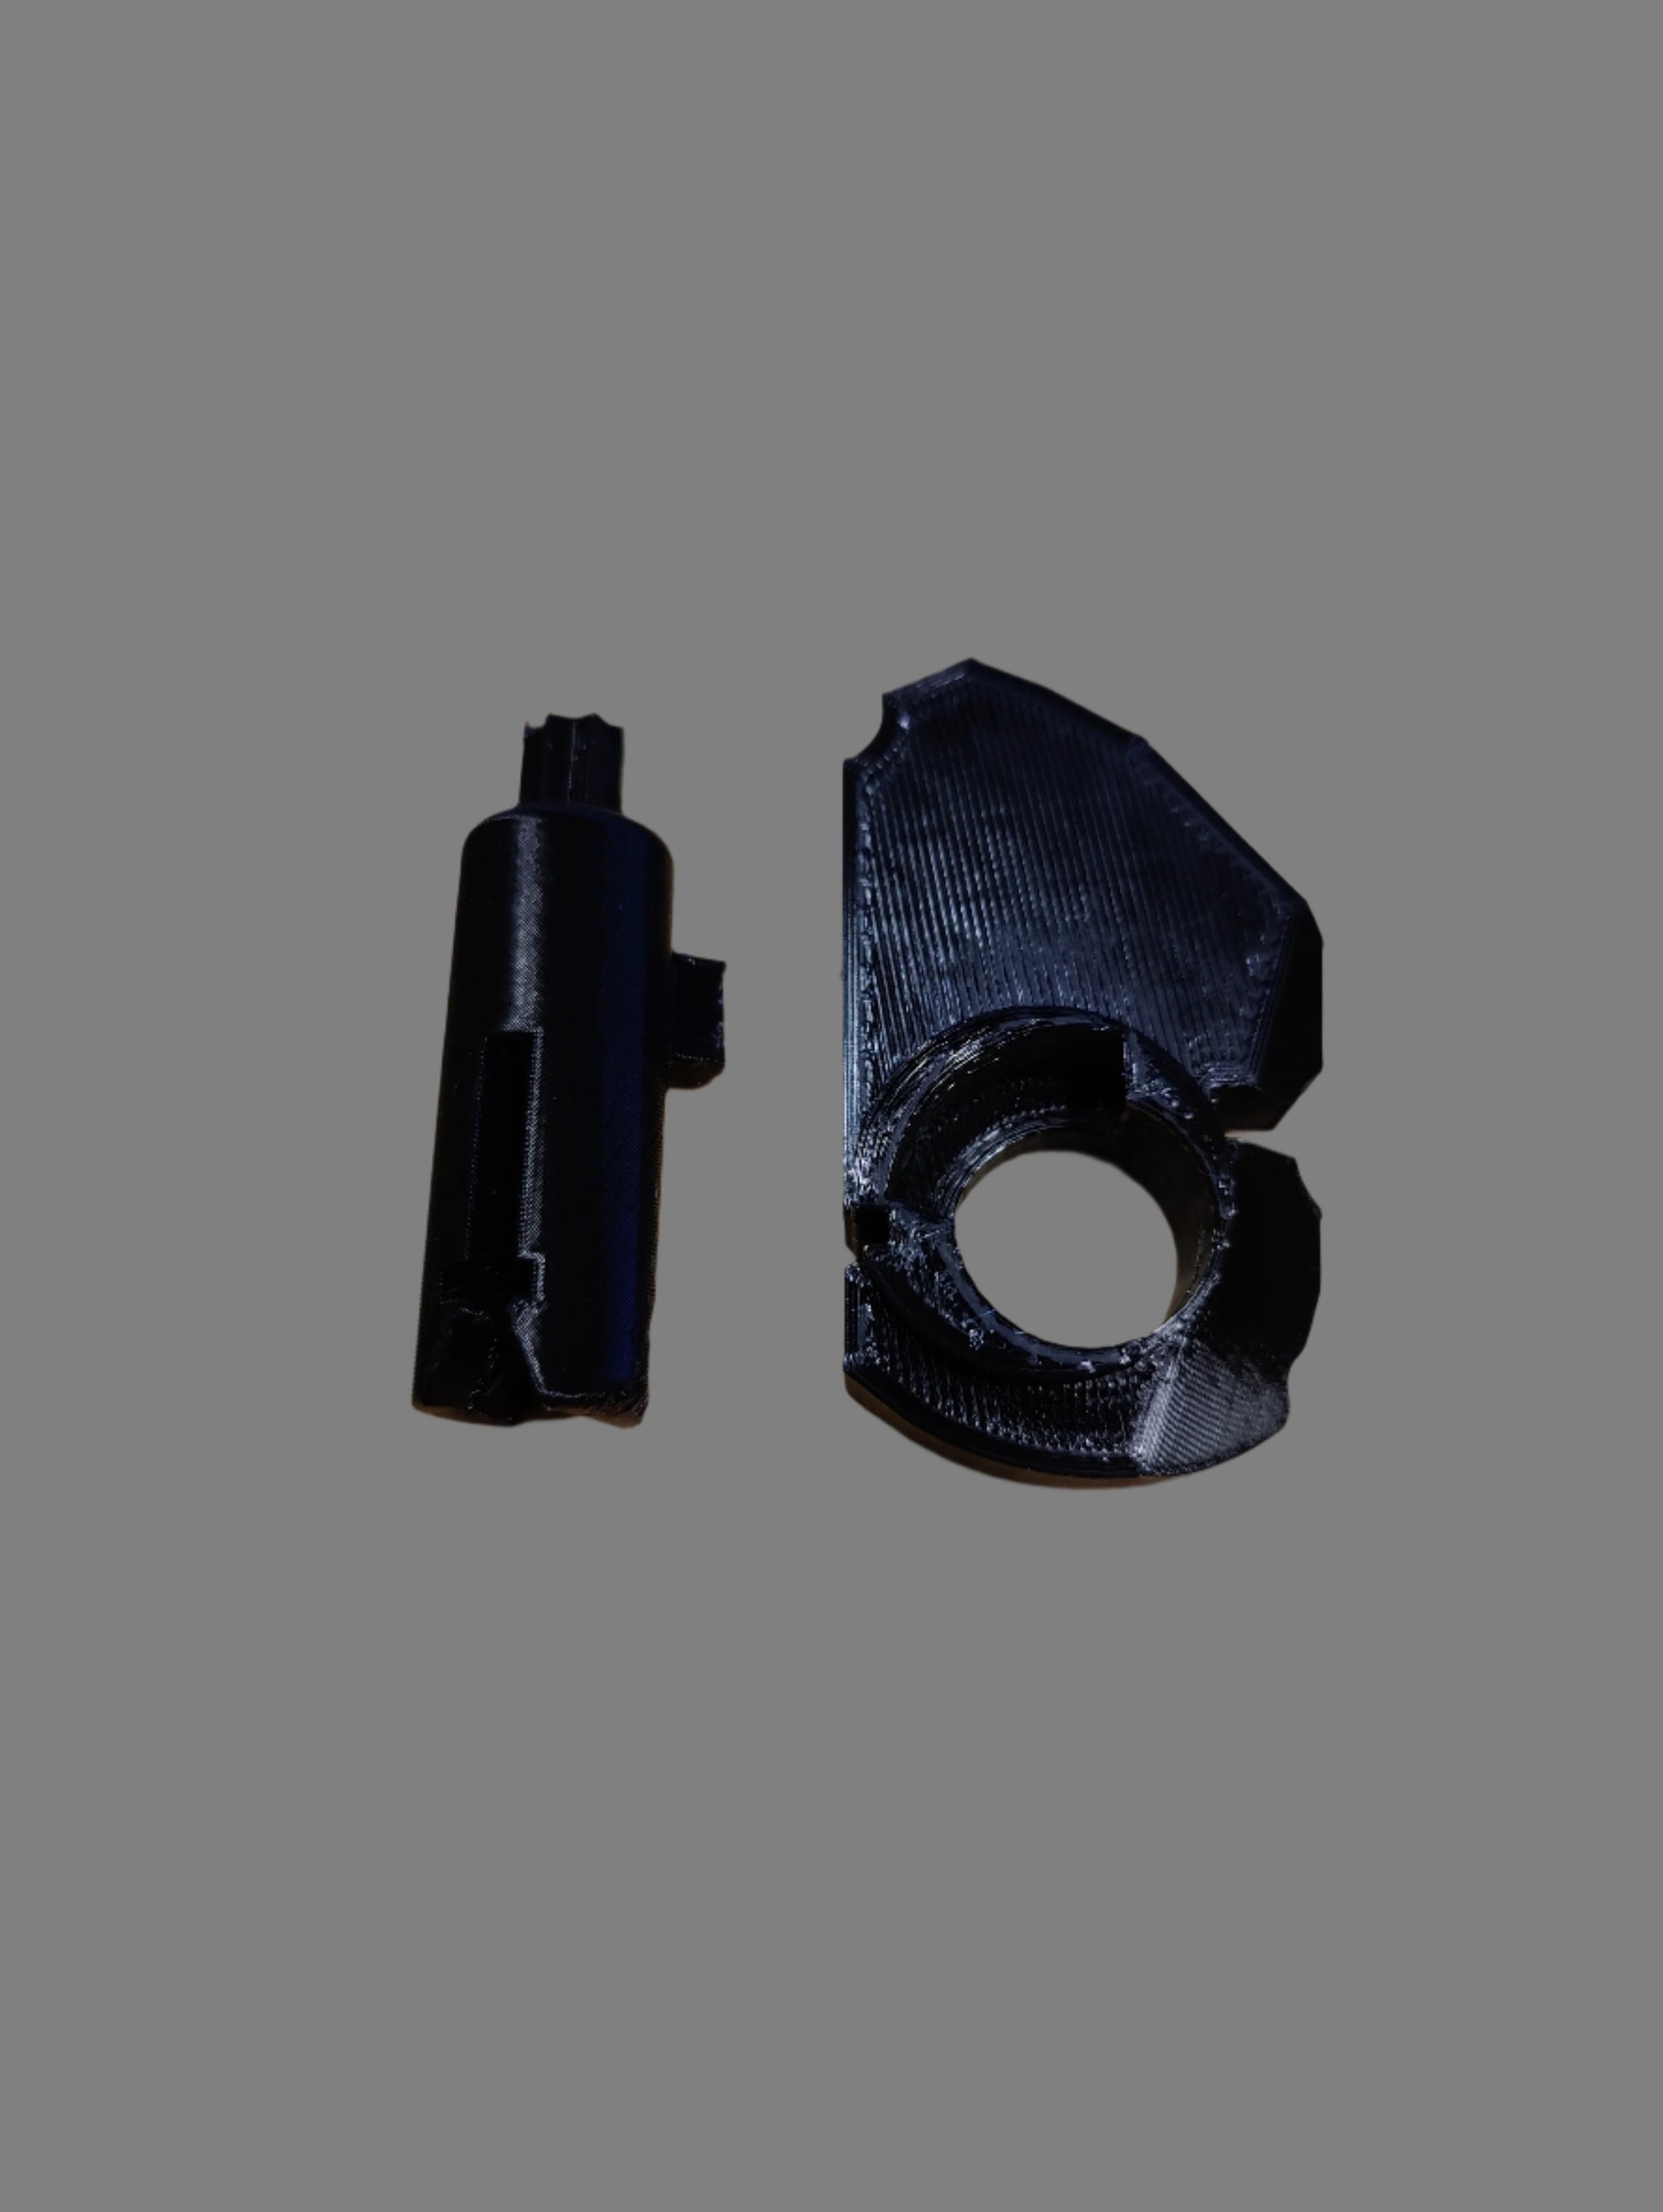
Kit Includes:
- Replacement shaft
- Stop insert
Optional:
For added stability, you can use a bonding material, such as sealant or glue, on the flap/shaft assembly.
Installation Steps:
- Remove the trim panels to gain access to the actuator.
- Disconnect the actuator electrical connector.
- Remove the actuator by unscrewing the two screws.
- Verify that the shaft is broken (the shaft can rotate more than 70 degrees).
- Install the drill guide.
- Use the 29mm Hole Saw to create a hole (without the center drill bit).
- Remove the drill guide.
- Clean the area inside the heater unit by vacuuming all debris.
- Clean the edge of the now-visible mixing flap.
- Check the shaft orientation (there is a ridge on top and a rounded section at the bottom—shaft should point downward).
- Install the replacement shaft, pushing it into place until you hear a click. (Sealant or glue can be applied for extra bonding.)
- Ensure the mixing flap rotates smoothly by rotating the shaft.
- Install the stop insert, ensuring the shaft is correctly aligned and positioned. Refer to the provided image for proper installation depth.
- Reinstall the actuator and reconnect the electrical connector.
- Reattach the trim panels.
Share
